In the first part of this little introduction to Emacs I'm writing I showed a bunch of ways in which I've adopted the usage of Emacs in my daily routines. That was written in the hope of captivating the interest of some of you. This blog post is a different story. It's purpose is instead to start from scratch and slowly introduce the basic building blocks needed to actually start using Emacs. So, hoping it will be a worthwhile read, I'll leave you to it. Have fun.
P.S. The links to the other two blog posts are reported below:
#Installation
As far as the installation process goes, for those of you who use a linux based OS you can simply use the package manager of your specific distribution and you should be able to find Emacs. The following commands will suffice to install Emacs depending on your specific distribution
sudo pacman -S emacs # arch-linux
sudo apt-get install emacs # ubuntu / debian
If instead you are using a windows operating system, you can download a realease of Emacs from the following mirror. In general anyways I would suggest to read the official site documentation.
#Keybinds Structure
One of the biggest hurdles that stands in the way when trying to learn Emacs is getting used to the basic keybinds. This is actually a sort of controversial topic, because many people don't like at all Emacs default keybinds and find them rather nonsensical. I could try and explain the rationale behind the basic keybinds (they sort of do make sense, at least most of them), but knowing the personal reality of keybinds, I will just say that after some getting used to they really become second nature, and the resulting boost in speed and productivity is significant.
In terms of actual keybinds, using Emacs involves the heavy usage
of both the control key, generally labeled as CTRL, and the meta key, generally labelled as ALT. Rather than writing CTRL and ALT
all the time, to discuss keybinds the following abbreviations are
used:
-
C-<char>, which means to hold the control key and press the character<char>. -
M-<char>, which means to hold the meta key and press the character<char>.Using these abbreviations, the keybind
C-fmeans "hold the control key and press f", whileM-xmeans "hold the meta key and press x".Most of the time keybinds in Emacs are made up of sequences of keys. For example to exit Emacs one has to type
C-x C-c, which means "hold the control key and press x, then hold the control key again and press c". Working with Emacs can thus be compared in a weird way to playing a musical instrument: initially it is overwhelming to remember all of the combinations of keybinds, but with enough time and practice it becomes an automatic motion.
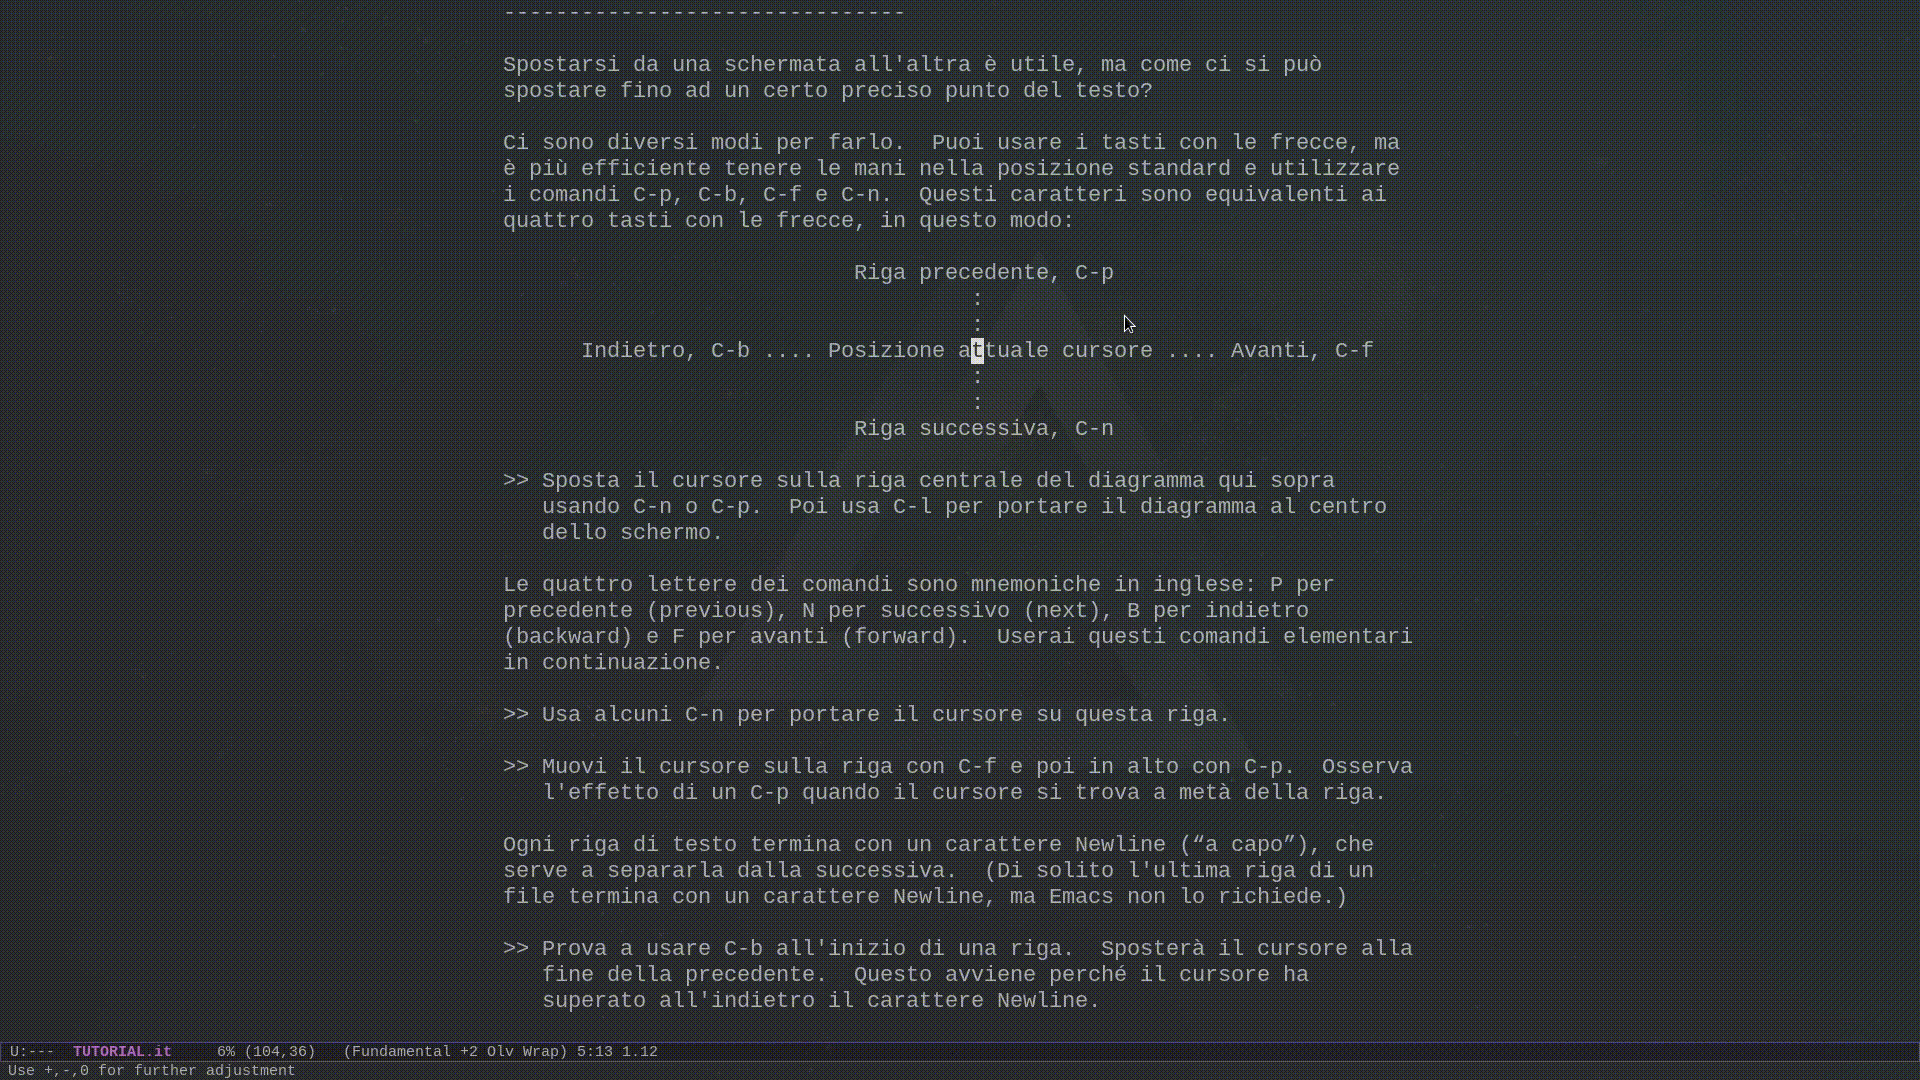
#Basic Movements
Other than the normal character keys which simply write the relative character on the screen, the other most basic keybinds to keep in mind while using Emacs are the following
| Keybind | Description |
|---|---|
| C-x C-c | Quit Emacs |
| C-g | Quit a partially entered command |
| C-p or Arrow Up | Go to previous line |
| C-n or Arrow Down | Go to next line |
| C-b or Arrow Left | Go to previous character |
| C-f or Arrow Right | Go to next character |
Notice that while one can use the basic arrows to move the cursor
up, left, right and down, the suggested way is to use instead C-p
to go up, C-b to go left, C-f to go right and C-n to go down. This
seems extremely arbitrary, and initially its pretty hard and
counterintuitive to move using this keybinds. Regardless, I
suggest to actually challenge yourself and try them out for a
bunch of days. It would be a waste to simply believe that they are
pointless to learn without actually trying them out. And I mean
really trying them out (like forcing yourself to only use Emacs
for a bunch of days and spend a lot of time in it).
The main reason the keybinds are defined like this is to minimize the wasted time during typing. The basic idea is that if the movements keys are already inside the keyboard, instead of on some arrows on the side, the user does not have to move too much his hands when switching from typing to moving the cursor. While this may not seem like a big deal, it actually is. Its a freaking huge deal. Think about it the next time you write something on your PC. Think about the time lost everytime you have to move your hands from the arrow keys to the main portion of the keyboard, and think about how many times that happens. The truth of the matter is that the less time you touch your mouse, the more productive you will be.
I still remember the first day I tried Emacs. I read about it in a book that talked about the history of free software. Fascinated by the story behind it, I wanted to try it out. It seemed like a cool piece of software. Things however did not immediately work out (they rarely do), and initially I thought these keybinds were extremely weird and hard to use. Even though I wanted to quit after a couple of days, I decided to trust what the documention said, and kept trying and trying. I don't even know when but at some point it all finally made sense. Looking back today I'm extremely glad I stuck with it.
The most important thing to keep in mind however is that, as we
already mentioned, Emacs is extremely extensible. In this case
the extensibility is reflected by the fact that every single
keybind can be changed. Even more, for those more used to a modal
editor like Vim, there is a package called evil-mode which
essentially transforms Emacs into a modal editor. The issue of
keybinds can thus be solved by enough practice or by choosing the
right package.
#Frames, Windows, Buffers and Files
Moving on, let us now understand how to do basic text editing on files using Emacs. Before that though some initial definitions are necessary.
In Emacs slang the term frame refers to the GUI window which
contains the application. A frame is essentially what you would
typicall call a window, but since Emacs uses the term window in a
different way, we have to use the word frame for that.
The term window instead describes an area of the screen that is
used to display a buffer. A given frame can be split into
multiple windows, both horizontally and vertically. This allows
the user to create complex layouts.
The basic keybinds used to manage the windows are the following
| Keybind | Description |
|---|---|
| C-x 1 | Delete other windows |
| C-x 2 | Split window horizontally |
| C-x 3 | Split window vertically |
| C-x o | Change window |
| C-x 0 | Close current window |
Whenever we press C-x 2 or C-x 3 the window is split in
half. Then we can press C-x o to cycle between all the created
windows, C-x 0 to delete the window we're currently in or C-x 1
to delete all other window and keep only that one we're currently
in.
We said that windows are used to display buffers. Well then, what
are buffers? A buffer in Emacs is essentially a container for data
with a unique name. Buffers are created in various ways. Everytime
you open a new file with C-x C-f a new buffer is created to store
the contents of that particular file.
The basic commands to manage buffers are the following
| Keybinds | Description |
|---|---|
| C-x C-f | Open file into a new buffer |
| C-x b | Change buffer |
| C-x C-b | Display list of all buffers available |
| C-x k | Kill buffer |
| C-x C-s | Save modified buffer into file |
To finish off, the last thing we have to mention is the presence
of the minibuffer and the mode-line. Both the minibuffer and the
mode-line are situated in the bottom portion of the screen. The
mode-line is used to describe various metadata about the local
configuration for the specific buffer we are working on, while
the minibuffer is situated below the mode-line and is heavily
used by Emacs as a way of communicating with the user. When
required it can also become interactive, asking the user for
input. For example when opening a new file we have to type the
path to the file we want to open in the minibuffer.
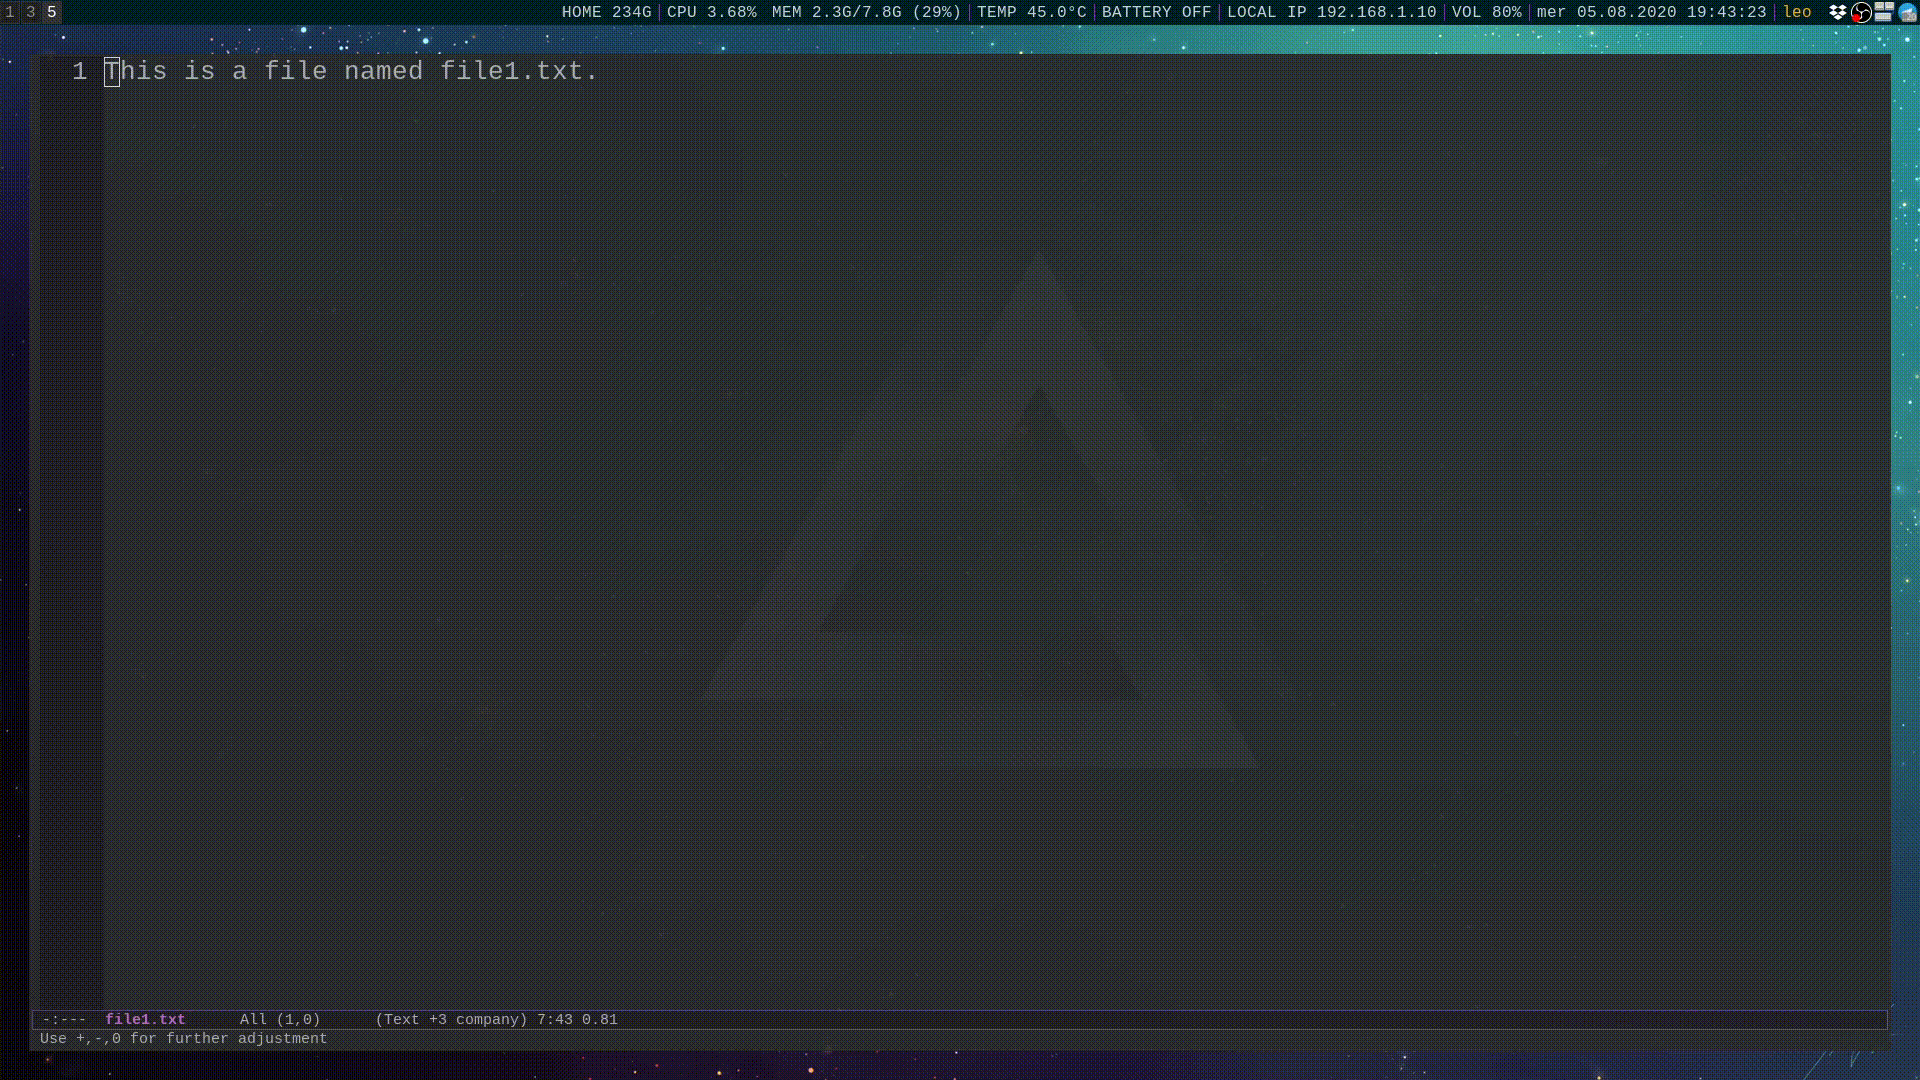
We are now ready to explain the basic workflow needed to edit a file. The basic steps are as follows:
-
Start by typing
C-x C-f. You will be prompted by Emacs to write the path to the file in theminibuffer. Do so and then pressENTER. -
Type whatever you want in order to edit and modify the contents of the file. Notice that in the left side of the mod-line whenever you edit a file two stars appear like
**-. This means that the changes you've made to the buffer have still not been written to the underlying file. To actually save those changes you have to pressC-x C-s. Now the mod-line should not display the two stars but rather---. This means you saved the changes. -
Once you think you are done editing the file, you can simply kill the buffer. To do so press
C-x kand then pressENTER. If you are also done using Emacs you can quit by typingC-x C-c.
#Killing, Yanking and the Kill Ring
Familiar concepts such as copying, pasting and cutting also exists
in Emacs (obviously), but they go by different names. In Emacs
cutting is known as killing, pasting is known as yanking, and
copying is known as "saving onto the kill-ring", where the
kill-ring is like a clipboard: it is a list of the last 60 killed
items, which can then be yanked (pasted) into the current buffer.
Since commands like copying and killing operate on arbitrary
parts of the currently active buffer, we have to specify the
particular region of the buffer in which to execute those
commands. To do so the basic idea is to set a mark at one end of
the region, move the cursor at the other end of the region and
execute the command we want to execute on that particular region.
The following keybinds are used
| Keybind | Description |
|---|---|
| C-SPC | Set mark where the point it |
| C-w | Kill selected region |
| C-k | Kill current line |
| M-w | Save selected region onto the kill-ring |
| C-y | Yank the last text saved onto the kill-ring into the buffer |
| M-y | Cycles through the kill-ring to yank a specific text |
Notice that M-y can only be used after C-y is used. It allows to
go "back" in the kill-ring and yank something that was put in the
kill-ring before the last saved item.
#Semi-Advanced Movements
One of the most surprising things I have discovered when learning Emacs is just how much limiting is to use only the four arrow keys of up, left, down and right for movement. Moving only by a single character at a time can be extremely slow. This realization however only comes after one learns about other types of movements, which is exactly why I wanted to include this sub-section.
Other than moving by one character at a time Emacs offers other type of movements. In particular we have the following movements keybinds
| Keybind | Description |
|---|---|
| M-f | Move forward by one word |
| M-b | Move backwards by one word |
| C-a | Move to start of line |
| C-e | Move to end of line |
| M-a | Move to start of paragraph |
| M-e | Move to end of paragraph |
| C-v | Scroll a full window upward |
| M-v | Scroll a full window downard |
| M-< | Move to start of buffer |
| M-> | Move to end of buffer |
What I find particular useful in my day-to-day editing using
Emacs is the usage of the keybinds that allows you to move
between the start (C-a) and end (C-e) of lines, as well as the
keybinds that allows you to move by words (M-f and M-b).
#Major and Minor modes
The concepts of major modes and minor modes are used to alter the
behavior of Emacs depending on the particular activity we are
doing.
Everytime we open a buffer a specific major mode is choosen by
Emacs depending on how we configured it. There are three basic
major modes, and these are:
-
text-mode: used for the editing of human languages.
-
prog-mode: used when writing the source code of a programming language.
-
special-mode: used when dealing with buffer containing text produced by Emacs.
Starting from these three, a ton of other major-modes can be
defined and implemented. For example there is python-mode to edit
python code; c-mode, to edit C code; java-mode, to edit java
code. You get the idea. Each major mode has a bunch of variables
with specific values and modifies the functions associated to
certain keybinds to do something more suitable for the particular
mode in question. At ony one time there can only be a single major mode, which is usually displayed enclosed in parentheses in the
mode-line.

In contrast to major-modes, which are mutually exclusive for a
single bufffer, there can be more than one minor-mode active at
the same time for the same buffer. Each minor mode alters the
behavior of Emacs in a well-defined way. To give a few examples,
here are some minor modes with their respective behavior:
-
display-line-numbers-mode, shows the row numbers on the left of the buffers. -
blink-cursor-mode, toggles the blinking of the cursor. -
display-time-mode, shows the current time in the mod-line. -
column-number, shows the column number in the mod-line.
In general a single given buffer can have a multitude of minor
modes. These modes can be activated for all buffers in a global
way, or only for specific buffers. The keybind C-h m allows to see
all the minor modes activated for the currenly active buffer.

#Documentation and Basic Customization
Even though it may seem like we have already introduced a lot of keybinds, in reality we still haven't scratched the surface when it comes to all the different things that Emacs can do. Luckily for us, another aspect in which Emacs excels at is documentation. The following keybinds are all related to helping the user understanding more about the system.
| Keybind | Description |
|---|---|
| C-h v | Describes variable and show its current value |
| C-h k | Describes specific keybind |
| C-h f | Describes specific function |
| C-h w | Show all keybinds for a given command |
| C-h b | Show all keybinds |
| C-h m | Shows info about the major and minor modes currently active |
For example, to understand the function buffer-menu we can type
C-h v, which will start a prompt in the mode-line, then we write
"buffers-menu" in it, we press ENTER and the documentation for
that particular function shows up.

Another important thing that Emacs offers is the ability to
customize the status of various internal variables by using a
friendly user interface. To access this customization feature
simply press M-x followed up by customize and then press
ENTER. This will open up the main customization menu, which is
organized in various groups and sub-groups to help the user finds
what he needs.
#Configuration Frameworks
As a final note, if trying out emacs from scratch seems like too dauting of a task, I suggest looking into community driven configuration frameworks, which deal with the configuration aspect of Emacs so that you don't have to worry about that. Some of the most popular ones are the following
#Conclusions
I hope it was interesting and useful. I've tried to make it short and only give you the necessary info, but Emacs is a complex piece of software, and there is a lot to be said. The more you understand Emacs, the more you will understand this
We have now introduced all the basic features of Emacs needed to start using it. Yet, as we said, Emacs is not simply just a text editor. For a reason or another, when one uses Emacs for long enough, one inevitably finds himself staring at some elisp code. Thus, to actually become truly familiar with Emacs some rudimentary knowledge of elisp is helpful. In the next blog post we'll start exploring one of the most fascinating programming languages I've come across: the Lisp programming language.
#Further References
For those of you interested in more I suggest the following resources and people, which can deepen even more your personal understanding of Emacs:
-
The Emacs Editor, official documentation for GNU Emacs.
-
Protesilaos Stavrou, the configuration file of this guy is pretty amazing. He also has a youtube channel in which he explains the various ways he uses Emacs.
-
Mike Zamansky, has a youtube playlist in which various emacs packages are shown.
-
Rainer König, also has a youtube playlist, but he focuses more on the usage of org-mode inside of Emacs.
-
Sacha Chua, has an amazing blog with lots of Emacs related content.
-
awesome-emacs, community driven list of useful Emacs packages, utilities and libraries.