Recently I had to re-install my android emulation setup. Since I had saved notes on how to do it, it was not too hard. In this blog post I want to show just how easy it is to configure an android emulation setup from scratch by using only command line tools, with no GUI applications.
I will be using an archlinux install, but it should not really
matter, as we will use just basic linux commands.
[leo@arch blog.leonardotamiano.xyz]$ uname -a
Linux arch 6.9.7-arch1-1 #1 SMP PREEMPT_DYNAMIC Fri, 28 Jun 2024 04:32:50 +0000 x86_64 GNU/Linux
Considering also that android requires a working java
installation, make sure you have a java environment in your machine.
[leo@arch blog.leonardotamiano.xyz]$ java --version
openjdk 22 2024-03-19
OpenJDK Runtime Environment (build 22)
OpenJDK 64-Bit Server VM (build 22, mixed mode, sharing)
#Downloading the tools
To start off, create an android folder in a custom directory.
cd /tmp
mkdir android
cd android
Let us then download the necessary tools. There are two things in particular that you need to download:
- platform-tools
wget https://dl.google.com/android/repository/platform-tools-latest-linux.zip
unzip platform-tools-latest-linux.zip
- commandline-tools
wget https://dl.google.com/android/repository/commandlinetools-linux-11076708_latest.zip
unzip commandlinetools-linux-11076708_latest.zip
For reasons beyond my understanding, there are some specific tweaks that we need to do before actually using them:
- First, we need to create a
latestfolder withincmdline-tools, and we need to move all the files and directories previously present in that directory within the newly createdlatestdirectory.
cd cmdline-tools
mkdir latest
mv * latest
cd ..
- Then we need to create a
platformsfolder
mkdir platforms
- Finally, set the
ANDROID_HOMEenvironmental variable
export ANDROID_HOME=/tmp/android
Now that we have everything setup, let's use these tools.
#Using the tools
First, we can list out all system images using sdkmanager with the --list option.
[leo@arch android]$ ./cmdline-tools/latest/bin/sdkmanager --list
[=======================================] 100% Computing updates...
Installed packages:
  Path           | Version | Description                       | Location
  -------        | ------- | -------                           | -------
  platform-tools | 35.0.1  | Android SDK Platform-Tools 35.0.1 | platform-tools

Available Packages:
  Path                                                                                     | Version           | Description
  -------                                                                                  | -------           | -------
  add-ons;addon-google_apis-google-15                                                      | 3                 | Google APIs
  add-ons;addon-google_apis-google-16                                                      | 4                 | Google APIs
  add-ons;addon-google_apis-google-17                                                      | 4                 | Google APIs
...
Notice how for each package we see the path, the version and a
description. Suppose we want to install the system image
system-images;android-34;google_apis;x86_64. We can do it with the
--install option.
./cmdline-tools/latest/bin/sdkmanager --install "system-images;android-34;google_apis;x86_64"
When executing it for the first time we will have to accept the terms of service.
[leo@arch android]$ ./cmdline-tools/latest/bin/sdkmanager --install "system-images;android-34;google_apis;x86_64"
License android-sdk-license:            ] 10% Computing updates...
---------------------------------------
Terms and Conditions

This is the Android Software Development Kit License Agreement

...

January 16, 2019
---------------------------------------
Accept? (y/N): y
[=====                                  ] 13% Downloading x86_64-34_r13.zip...
After we have downloaded it, we can create an Android Virtual
Device (avd) with the avdmanager utility. Before doing that
however we need to download the emulator.
./cmdline-tools/latest/bin/sdkmanager --channel=0 emulator
During the creation of the device we have to specify the system image to use (the one we just download) and also a name to identify the device.
./cmdline-tools/latest/bin/avdmanager create avd -k "system-images;android-34;google_apis;x86_64" -n "google-34"
To make sure the device was properly created, you can list out all available devices as follows
[leo@arch android]$ ./cmdline-tools/latest/bin/avdmanager list avd
Available Android Virtual Devices:
    Name: google-34
    Path: /home/leo/.config/.android/avd/google-34.avd
  Target: Google APIs (Google Inc.)
          Based on: Android 14.0 ("UpsideDownCake") Tag/ABI: google_apis/x86_64
  Sdcard: 512 MB
In our case, specific data for the created device will be found
within $HOME/.config/.android/avd/
[leo@arch android]$ tree -L 2 $HOME/.config/.android/avd/
/home/leo/.config/.android/avd/
├── google-34.avd
│   ├── config.ini
│   └── userdata.img
└── google-34.ini

2 directories, 3 files
By editing the google-34.avd/config.ini file, you can change
various things about the emulated environment. For example, to enable
the hardware keyboard, which is very useful, change the
hw.keyboard value from no to yes.
...
hw.initialOrientation = portrait
hw.keyboard = yes
hw.keyboard.charmap = qwerty2
hw.keyboard.lid = yes
...
#Starting the Emulator
To actually start the emulator you can use the emulator
utility. Before doing that however specify using the
ANDROID_AVD_HOME env variable where exactly the files defining
your device are found.
export ANDROID_AVD_HOME=$HOME/.config/.android/avd/
In the actual command you have to specify the device within the
-avd attribute. Put the same label you used during device
creation.
./emulator/emulator -avd google-34 -scale 0.6 -writable-system
And this is it, you have your emulator working!
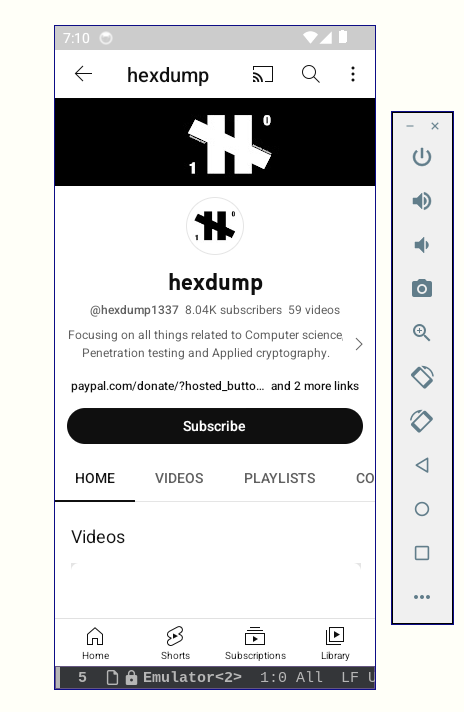
Hope it was useful and interesting, and if it was so, feel free to subscribe to my english youtube channel!.
#References
The following references were useful in the creation of the article:
Go check out 0xbro, he makes useful videos regarding mobile pentest.
#Extra - Build Tools
After publishing this post, I've noticed that sometiems build tools
such as zipalign and apksigner are needed. Therefore, you
should also download them:
wget https://dl.google.com/android/repository/build-tools_r34-rc3-linux.zip
unzip build-tools_r34-rc3-linux.zip